4 Enterprise Resource Planning (ERP) System - Odoo
While studying to become an auditor, you decided to start your side business as a dog walker. You love dogs and you figured that walking dogs is both healthy and is helping the community by offering a useful service. You also found out that walking dogs is quite profitable. You did all your research, discovered possible clients and decided on your products and prices. You found three clients who would like you to walk their dogs Rover, Challa and Ravioli (these are the names of the dogs, not the clients).
You’ll invoice your clients monthly. For your administration, you are using a spreadsheet to track your products, clients and invoices, as shown in Figure 4.1.
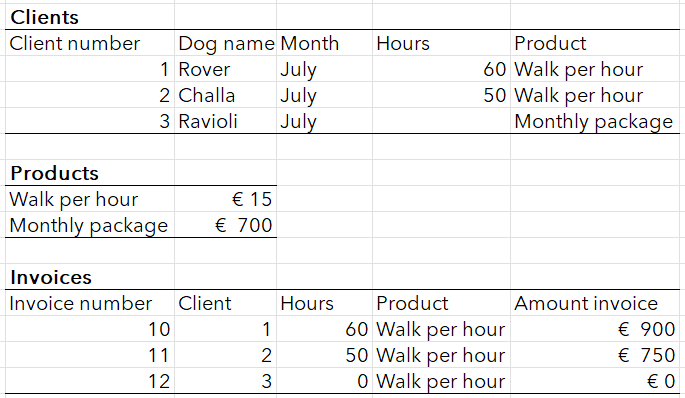
I’ll just be brief and tell you that the administration, like most spreadsheets, contains a big error. Can you spot it?
Don’t worry, I’ll wait.
Yes, still waiting…
Yes, you got it! The invoice for the third client, the owner of Ravioli, is incorrect! You are missing out on €700!
My claim is that, if you would use an integrated system, one that would seamlessly unite your services with your clients and your invoices, then you could avoid having mistakes in your calculation.
4.1 Enter Odoo
ERP systems (where ERP stands for Enterprise Resource Planning) promise to integrate all the information a business needs into one place. In our dog walking example, although you would still have to input your products and your clients, you could automatically generate an invoice, with correct amounts this time. If an ERP system has advantages for such a small business, like a dog walking business, then we can just imagine the advantages it has for a big business, with a lot more information to manage.
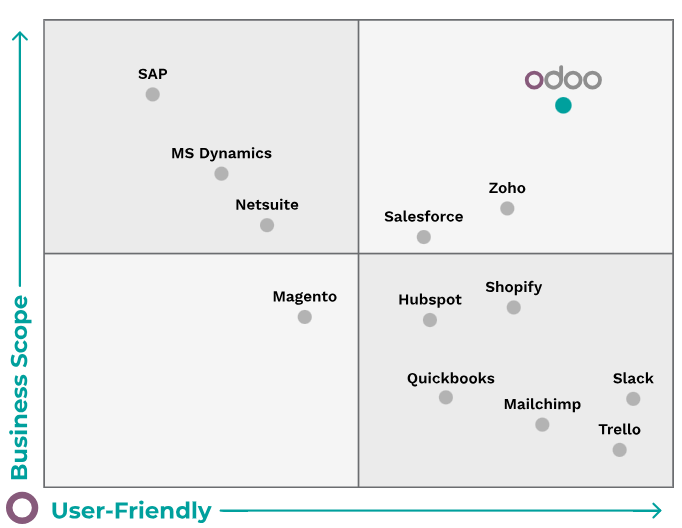
But is learning to work with an ERP system difficult? Not with the one used in this course: Odoo. Odoo is a European product that serves a diverse population. It does so because it’s an open source product which functions well. The usual problem of more visible ERP systems such as SAP, especially for an educational setting, is that they are quite comprehensive and - perhaps due to this - are not very intuitive and require intense upfront training. With Odoo, the entry level is quite low and allows for a novice user to grasp its workings very fast. A comparative analysis presented on the website of Odoo shows the difference between Odoo and other ERP systems and business applications (Figure 4.2).
Even better, Odoo offers an education version of the platform for students and teachers. This education version is valid for 24 months from the creation date and gives access to all Odoo apps, from the Accounting app to the Timesheet app.
Ok, but let’s say I haven’t yet convinced you to invest time in learning Odoo. Would telling you that Odoo can increase your employability convince you? In one of the comments to an Odoo educational video, somebody wrote:

So, Odoo is a tool that can give you an edge as a future professional.
4.2 How to start with Odoo?
It would be great if you can do the next exercise along with me.
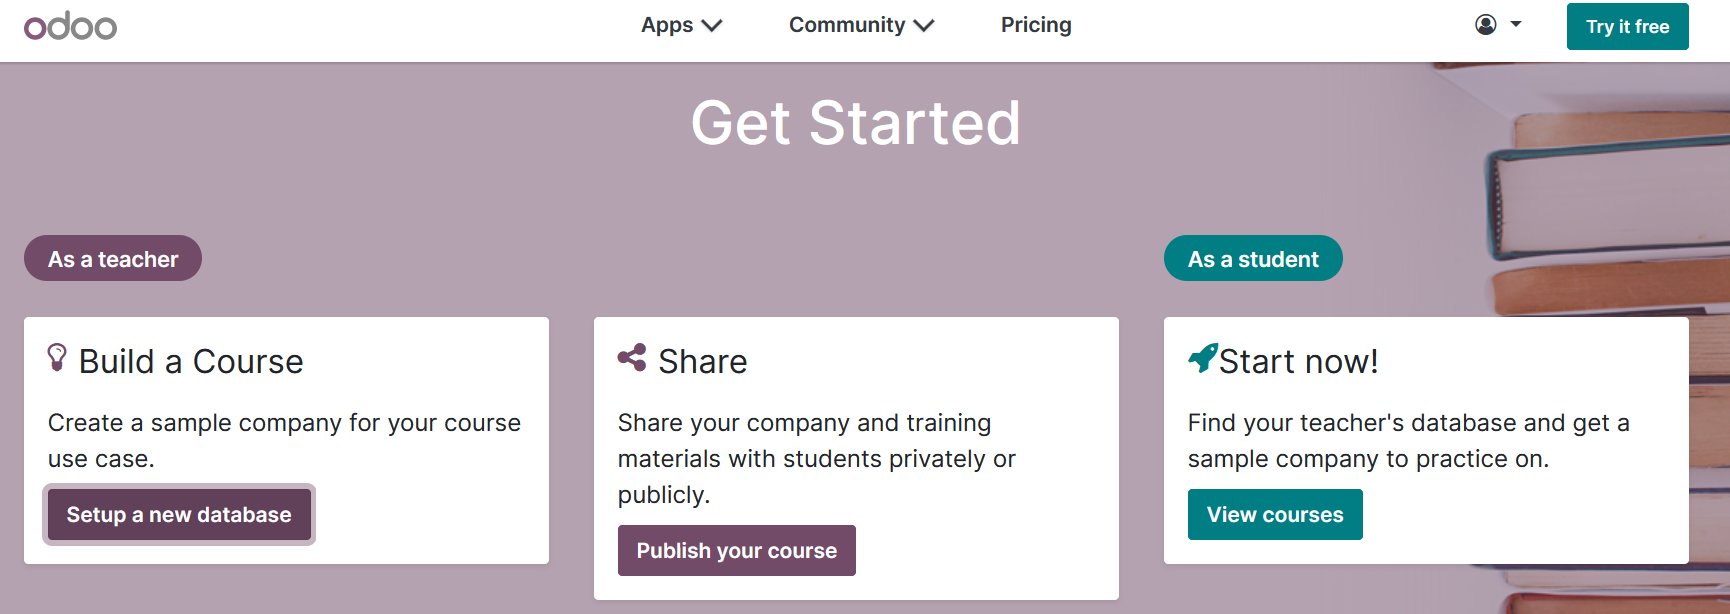
Go to the Odoo webpage where you can create an educational database, scroll down the page and select the Setup a new database tab@fig-setup.
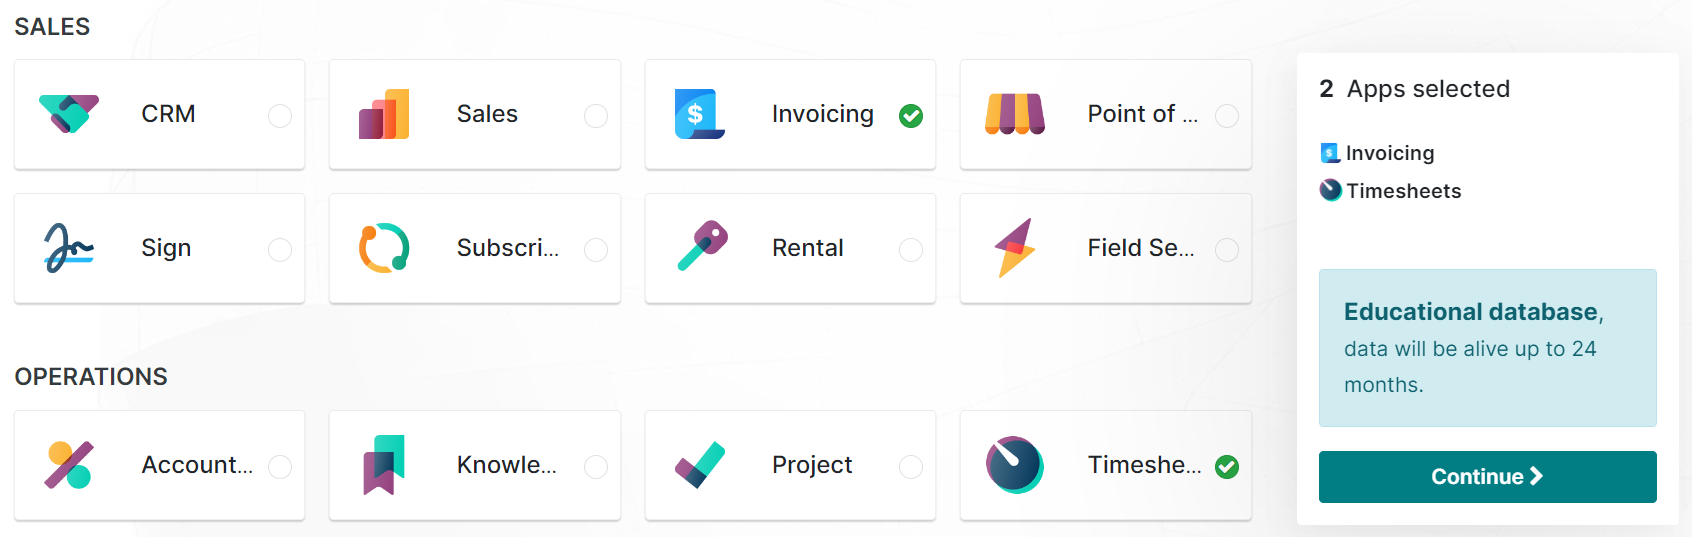
Choose two apps you are interested in using, for example, Invoicing and Timesheets (Figure 4.5) and then click Continue. It doesn’t really matter what apps you pick at this point; you can always add or remove apps later on.
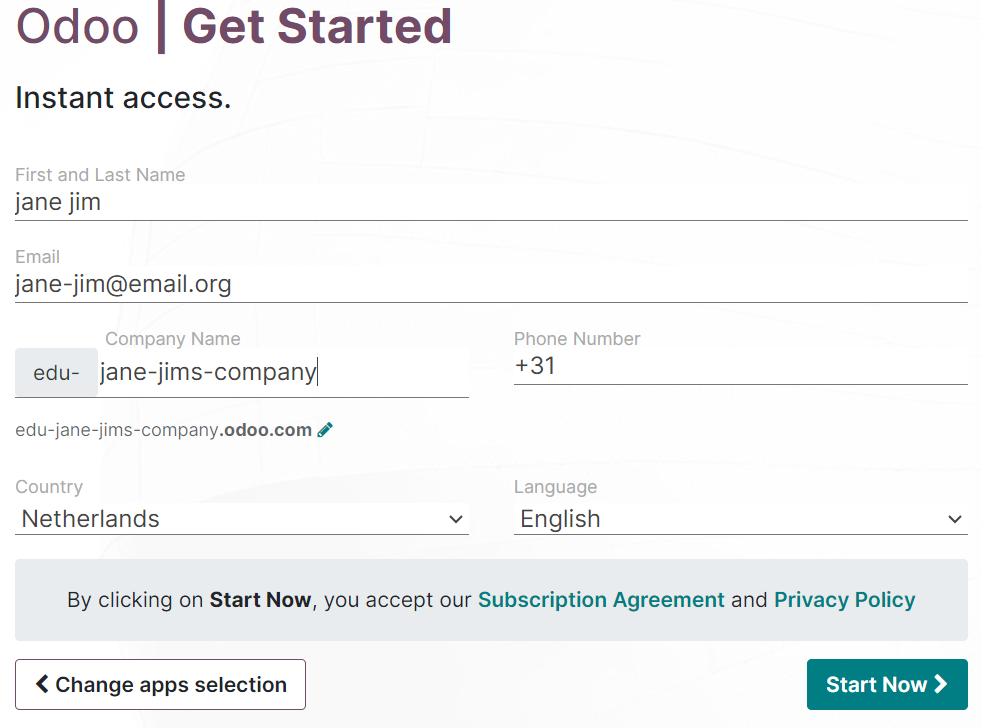
Now you’re at the most important part of this journey, the setup of your company in Odoo (Figure 4.6). Type your first and last name (or other names), provide a valid email address, give the name of the company (Attention: in order to get free access for 24 months to the educational resources of Odoo, your company must start with the prefix edu-) and then click Start Now.
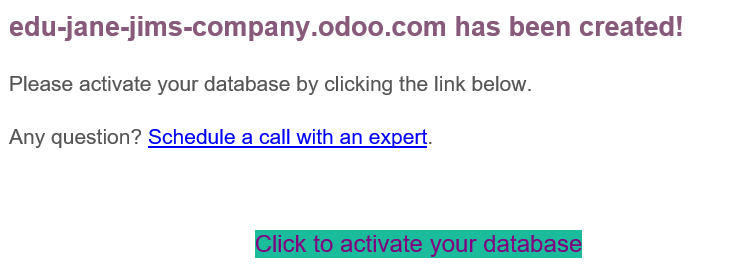
Check your email and make sure to activate your company’s ERP system (called database in Odoo lingo) (Figure 4.7). If you don’t activate your database from your email, then the database will be deleted after three hours.
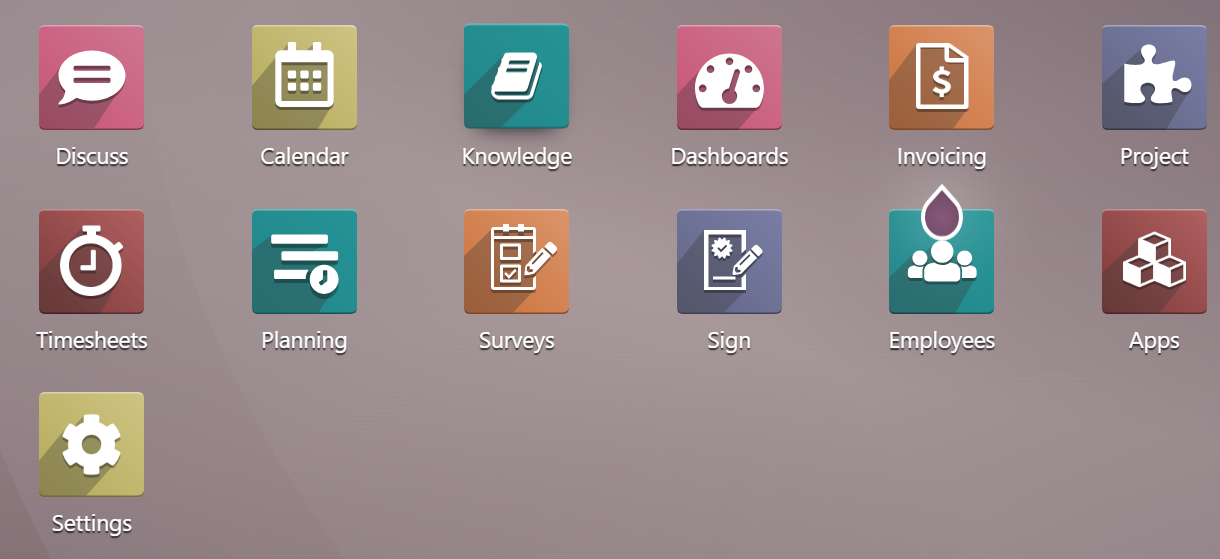
After this, you will have access to your company’s apps (Figure 4.8) and you are good to go!
If at any point you get stuck in the process, you can contact Odoo’s support team.
4.3 Working in Odoo
Let’s circle back at the dog walking business from the beginning of this chapter. How would we use Odoo for that particular business? Ideally, we would be able to create two products, one for Walk per hour with an hourly rate and a Monthly package with a lump sum. Additionally, we would be able to track the time we spend walking the dogs for different clients. Finally, we would invoice the work we’ve done. How do we do all of the above in Odoo? At the moment of typing this, I do not know how to do this in Odoo. But that’s ok, because Odoo has great free educational resources at Odoo learn.
After spending more than three hours on finding out how to do this (yes, learning this stuff takes time!), I figure that I need to use the Sales app in order to create orders and products, the Timesheet app in order to track the hours walking dogs, and the Project app to tie time sheets to billable hours and invoices. You can try to do the following steps yourself:
- Create products and sales orders per customer (Sales app)
- Track the time spent on walking dogs per customer (Timesheets and Project apps)
- Invoice your work (Sales app)
Or, you can follow along the detailed explanation from below. Just a word of caution before you begin. There are a lot of screen shots and clicks described below and you might be wondering ‘What’s the point? I can do this in Excel super fast.’ Yes, you could do this in an Excel spread sheet but the point is to issue invoices without mistakes. Excel requires you to focus all the time, so you can make mistakes if not focused. With Odoo, you focus once to put the right process in place and then you can free up your mind to only do a last check. And, as with any new software, there is a learning curve. Things are slower at the beginning but gradually you become a pro.
Let’s begin!
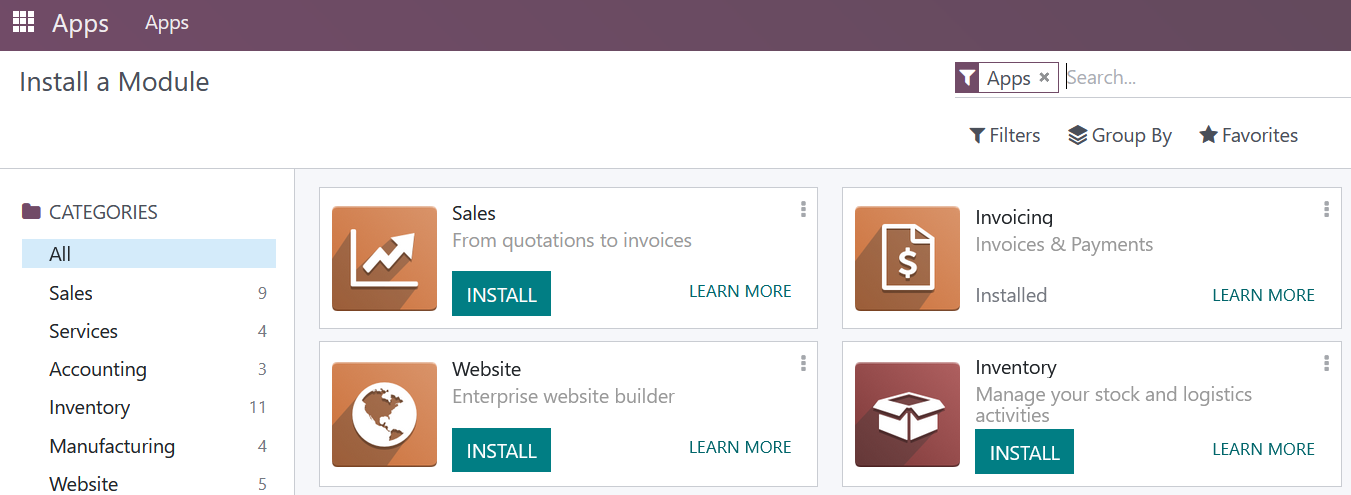
I don’t have the Sales app so I’ll first go to the main app window (Figure 4.8), click on the Apps icon and install the Sales and Project modules (I already had Timesheets) (Figure 4.9).
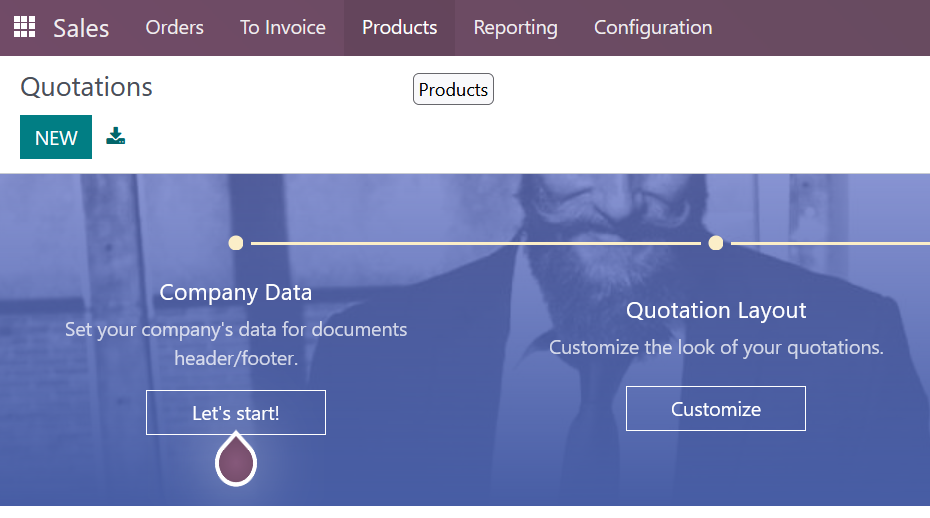
Next, in the Sales app, we go to Products tab in the upper menu and we add new products (Figure 4.10).
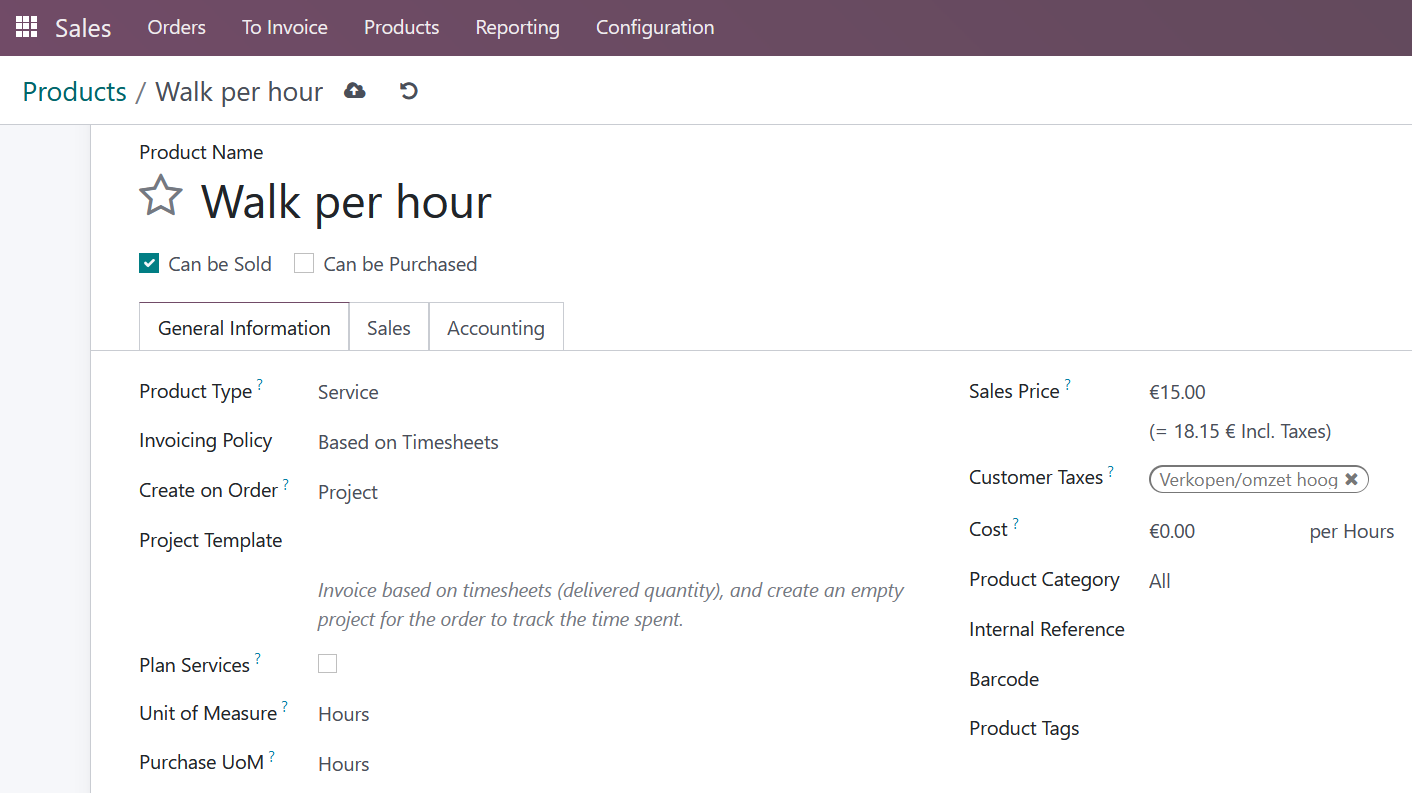
Here, I’ll create a new product or service by clicking on the button NEW. In the product window, I fill in the new product details as in Figure 4.11.
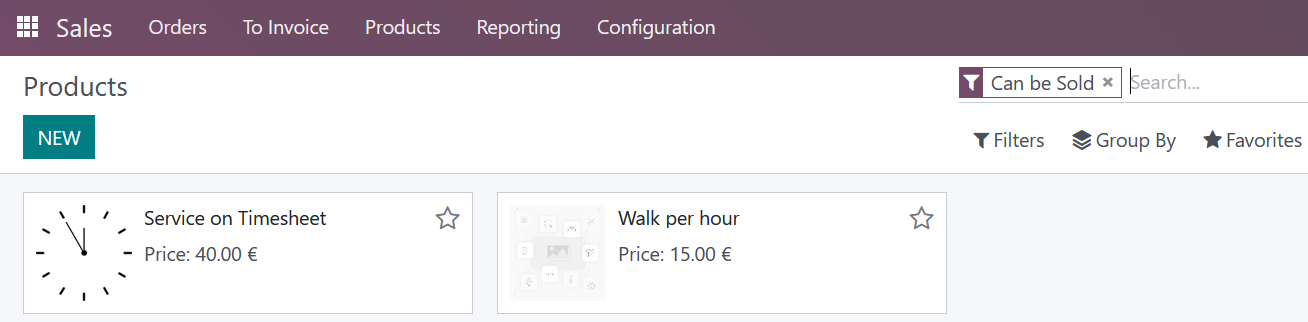
This automatically creates a new product which appears in the products overview (Figure 4.12).
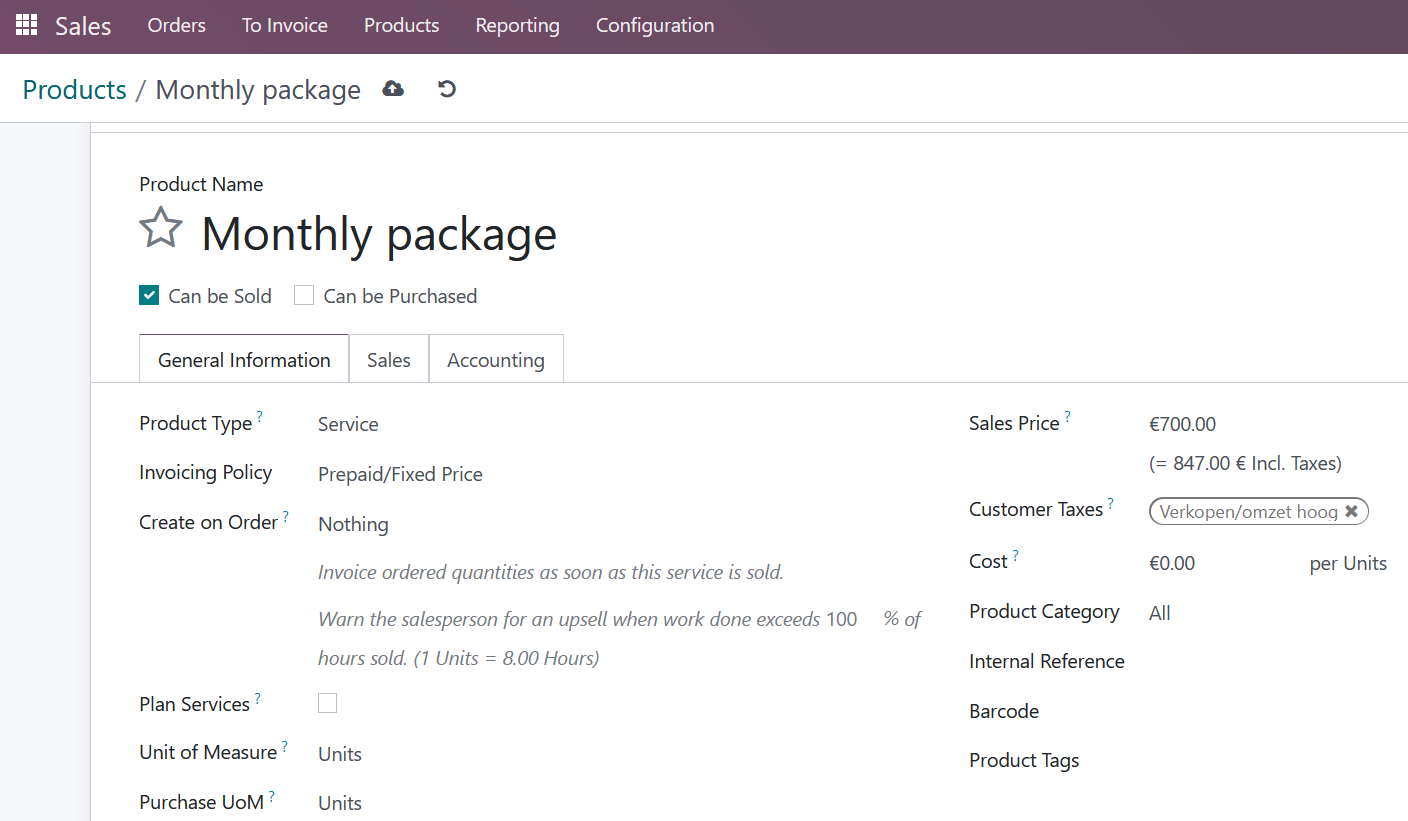
Similarly, I create a monthly package (Figure 4.13). You should observe that for this product I use a Prepaid/Fixed Price and I don’t create a Project in order to track the time on this product. This product will be invoiced when ordered by the customer. Usually, these types of prepaid services are invoiced at the beginning of the period (e.g., beginning of the month) while you’ll deliver the service during the month.
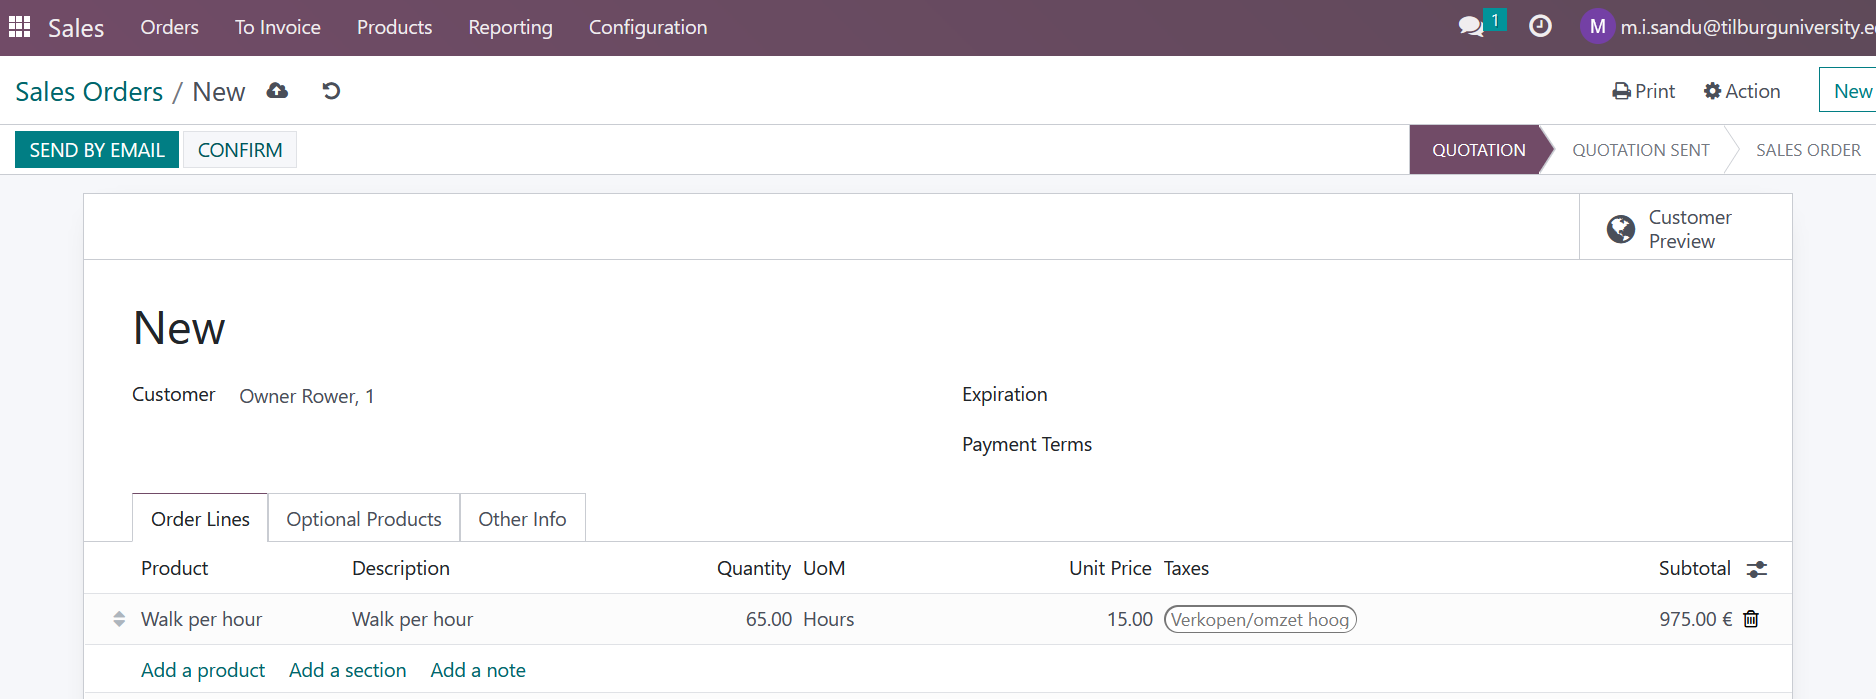
The logic of the ERP system follows the logic of internal control. There needs to be a request for a product in order for us to sell a service. So, we first need to create a sales order to show that a customer wants a product from us. From the Sales app we create a Sales order and we Confirm it from the upper left button (Figure 4.14). You can see that I’ve used a number of 65 hours as the planned hours for this activity per month.
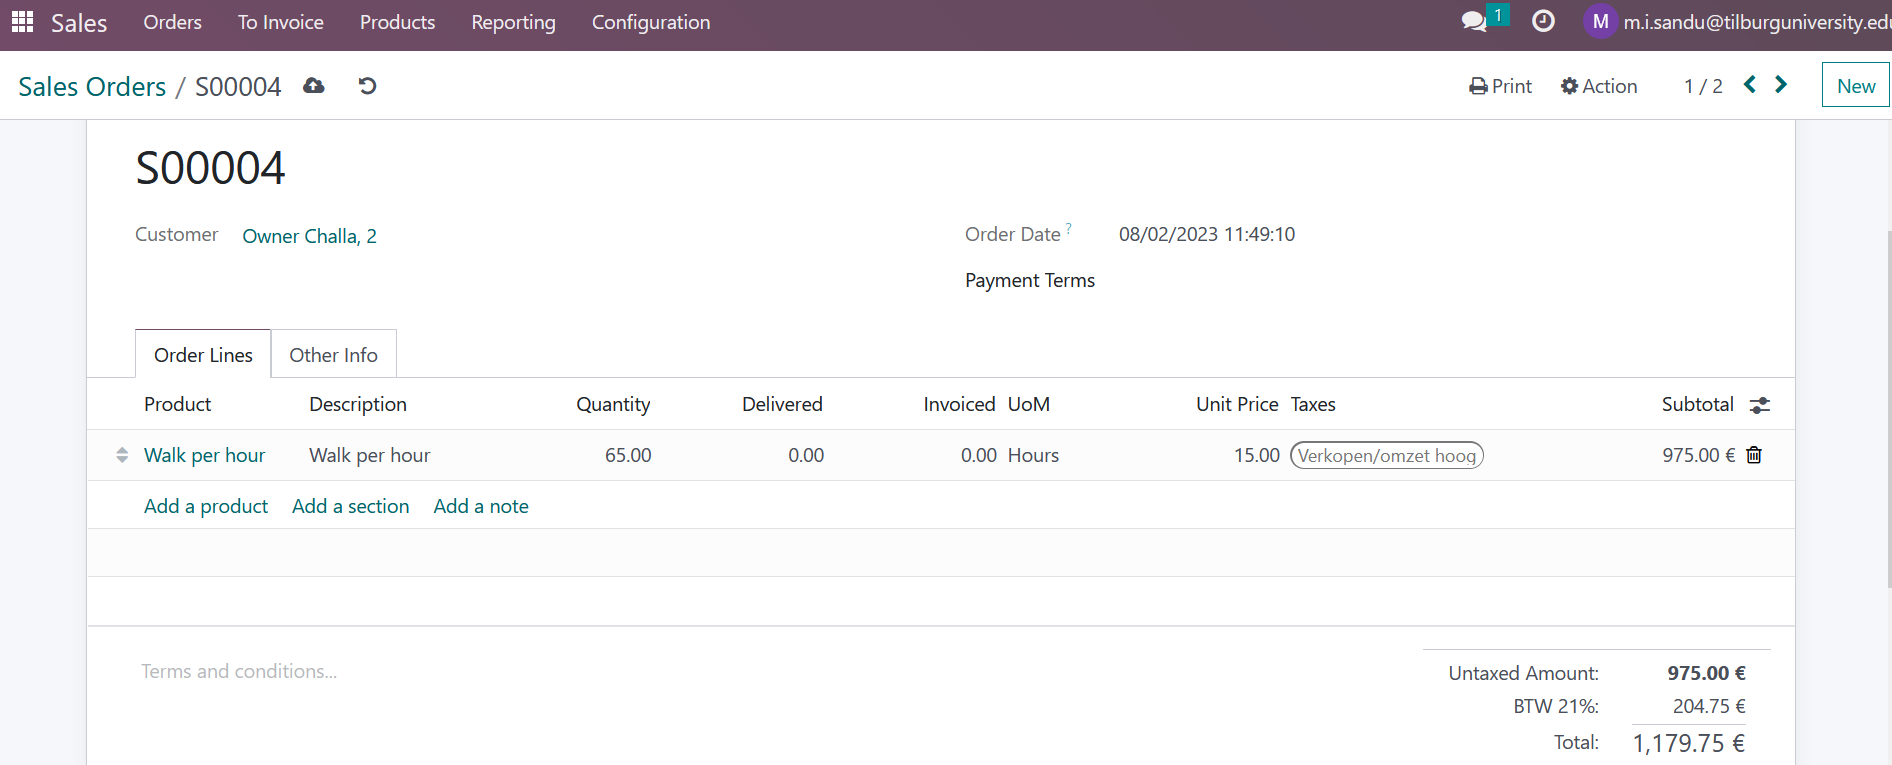
I continue to create a sales order for the owner of Challa (Figure 4.15).
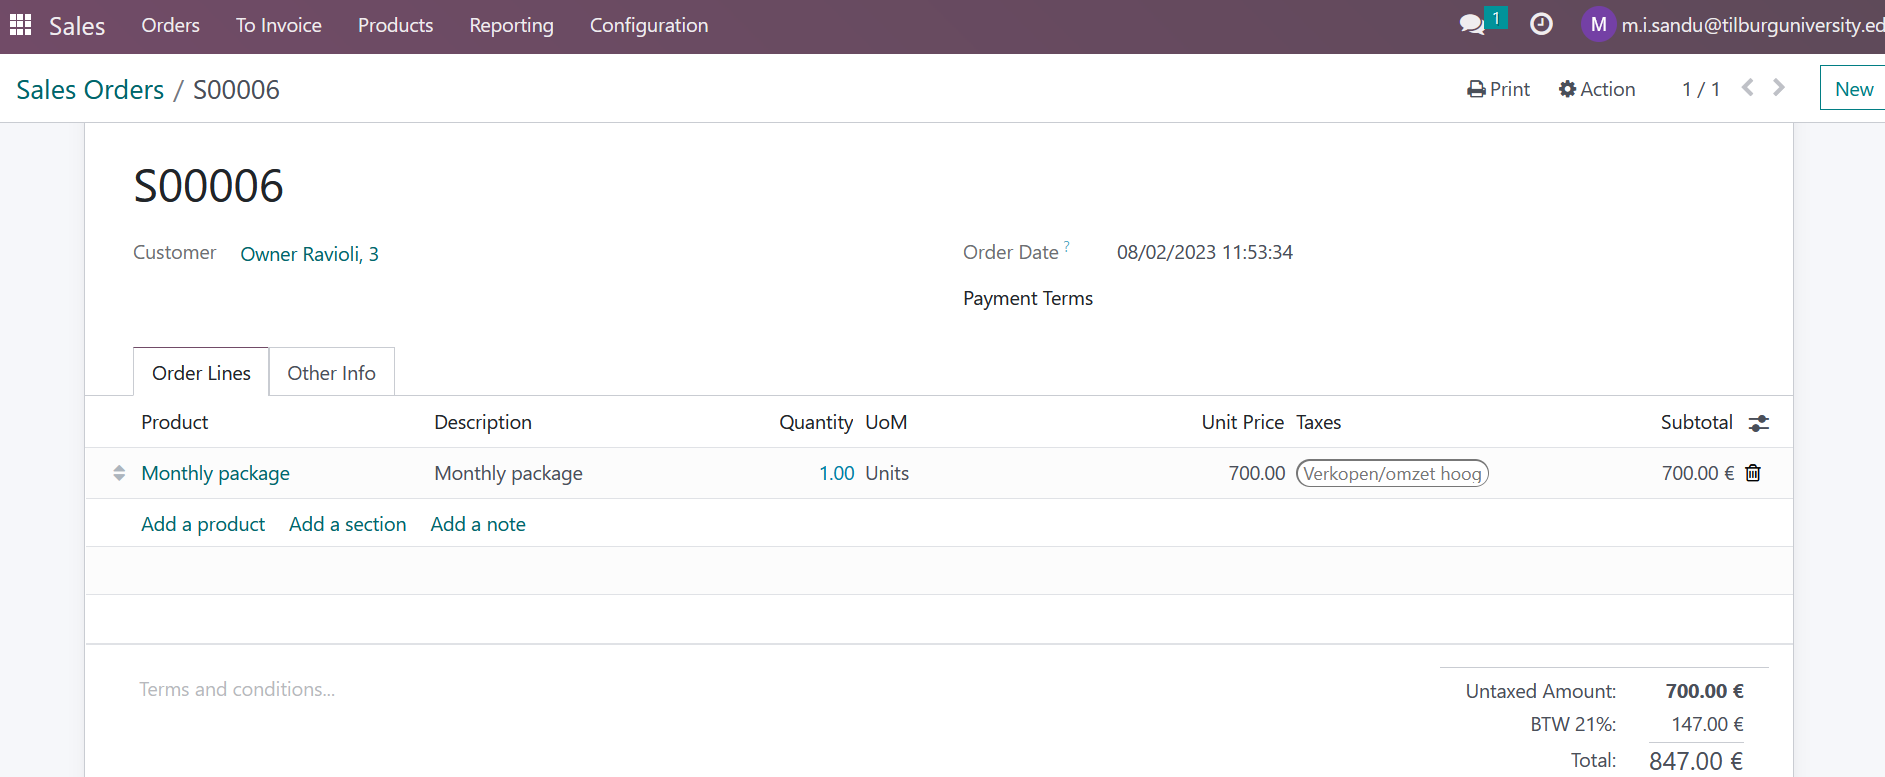
And lastly, I’ll create a third order for the third customer, the owner of Ravioli (Figure 4.16).
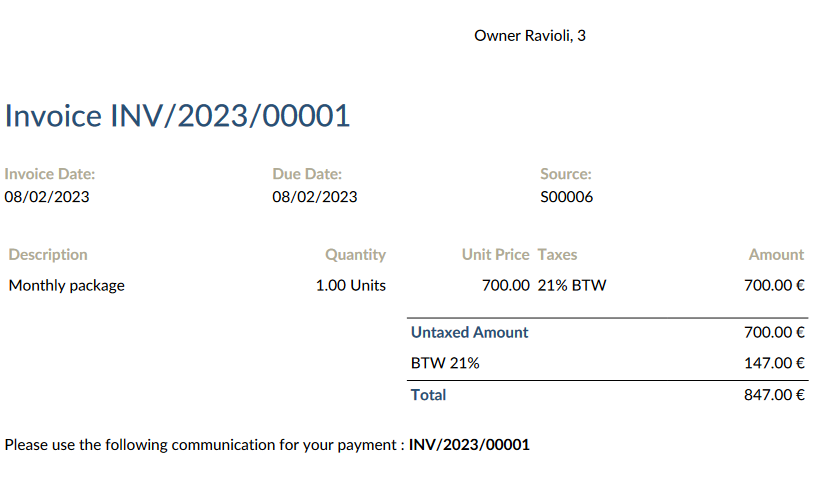
The overview of the sales orders shows that I can already invoice the prepaid monthly package so I’ll go ahead and do that by clicking on the sales order, and clicking CREATE INVOICE in the upper bar of the screen. After some more clicks, e.g., Regular invoice, we get to see the invoice that our customer will receive (Figure 4.17).
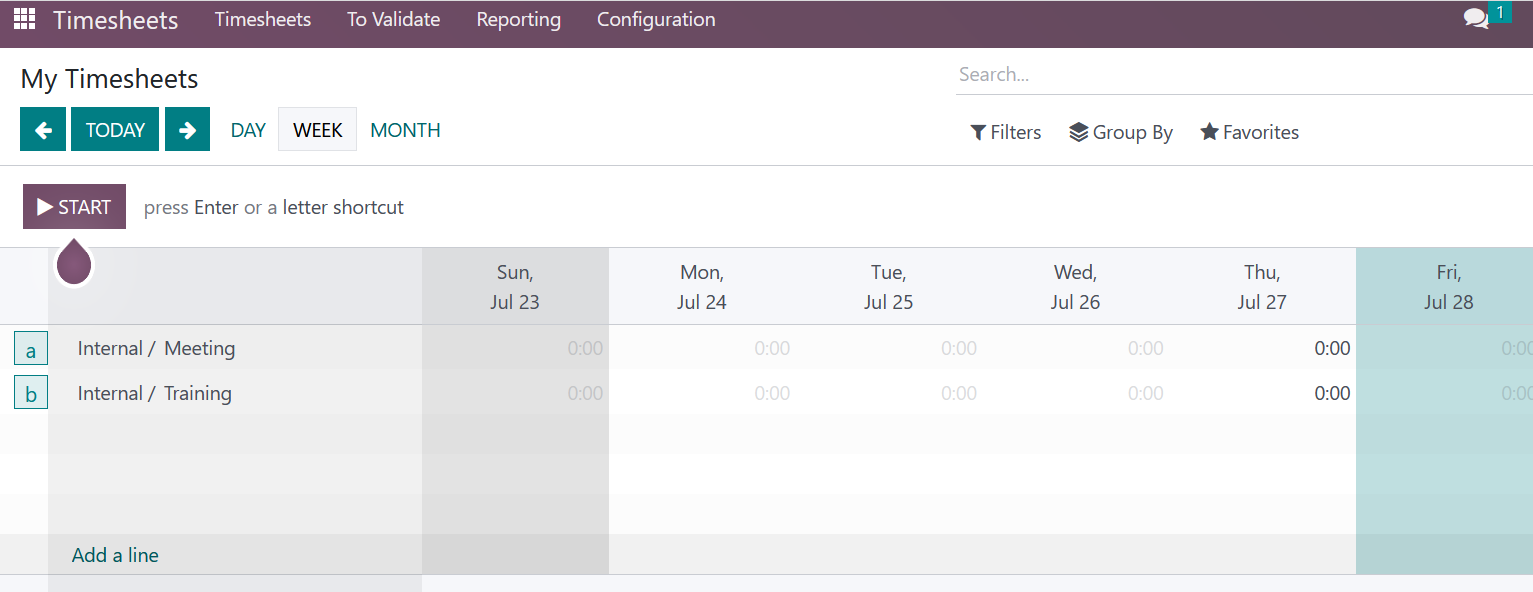
Next, in the Timesheet app I can add a line (click on Add a line) for every client where I want to track the time (Figure 4.18).
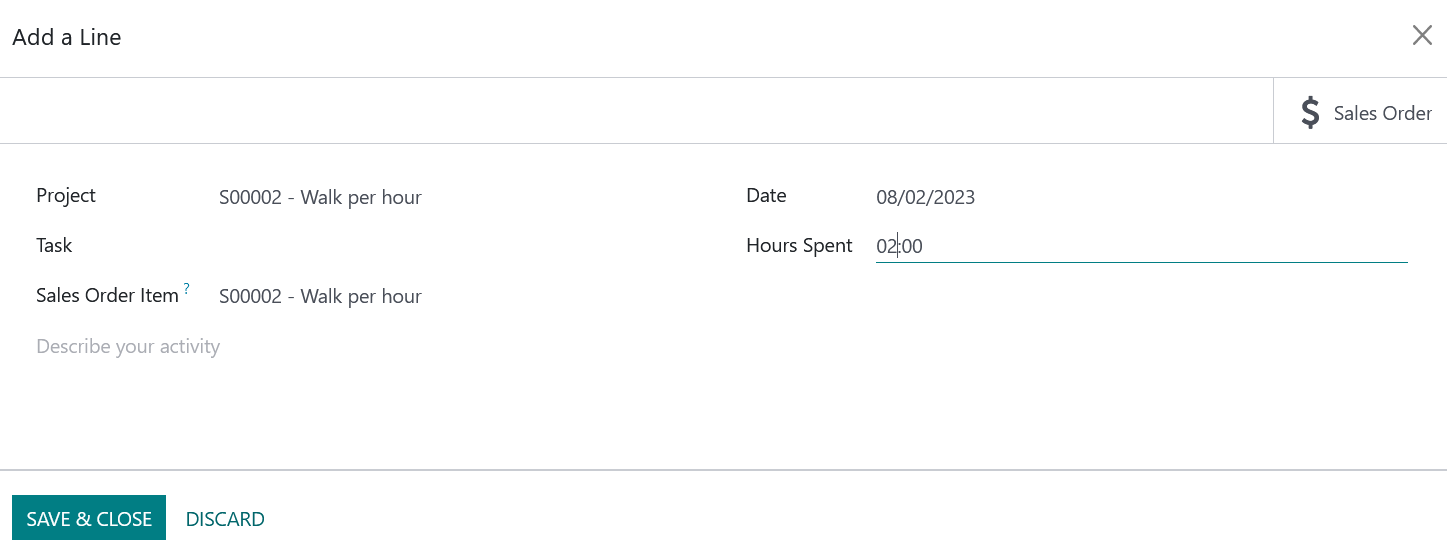
For walking Rover I would add a line as in Figure 4.19.
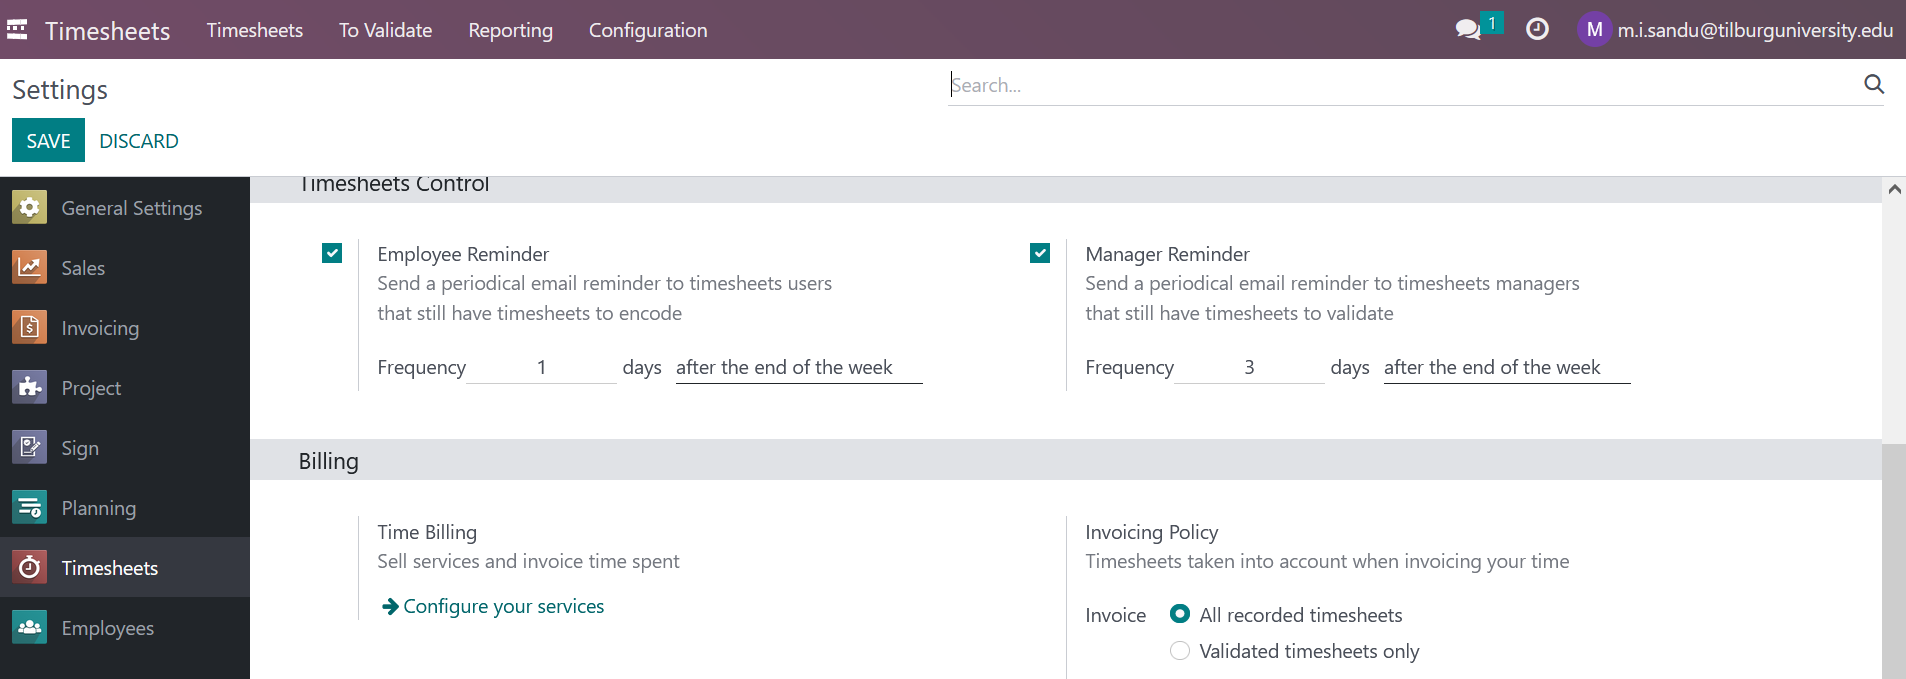
For now, we’ll invoice all the timesheets so make sure the configuration is correctly set to Settings > Invoice: All recorded timesheets. (Figure 4.20).
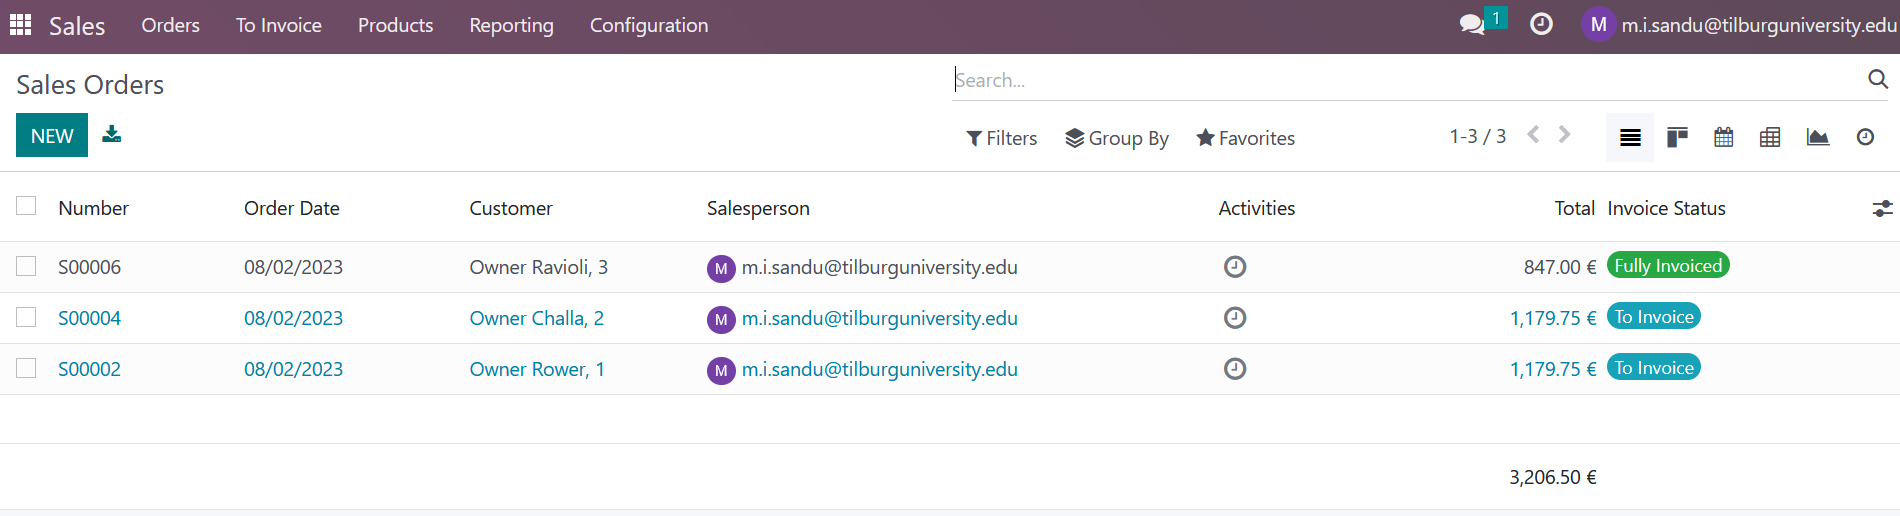
Now, in the Sales app, under Orders, we can see that we can invoice part of the job we’ve done. (Figure 4.21).
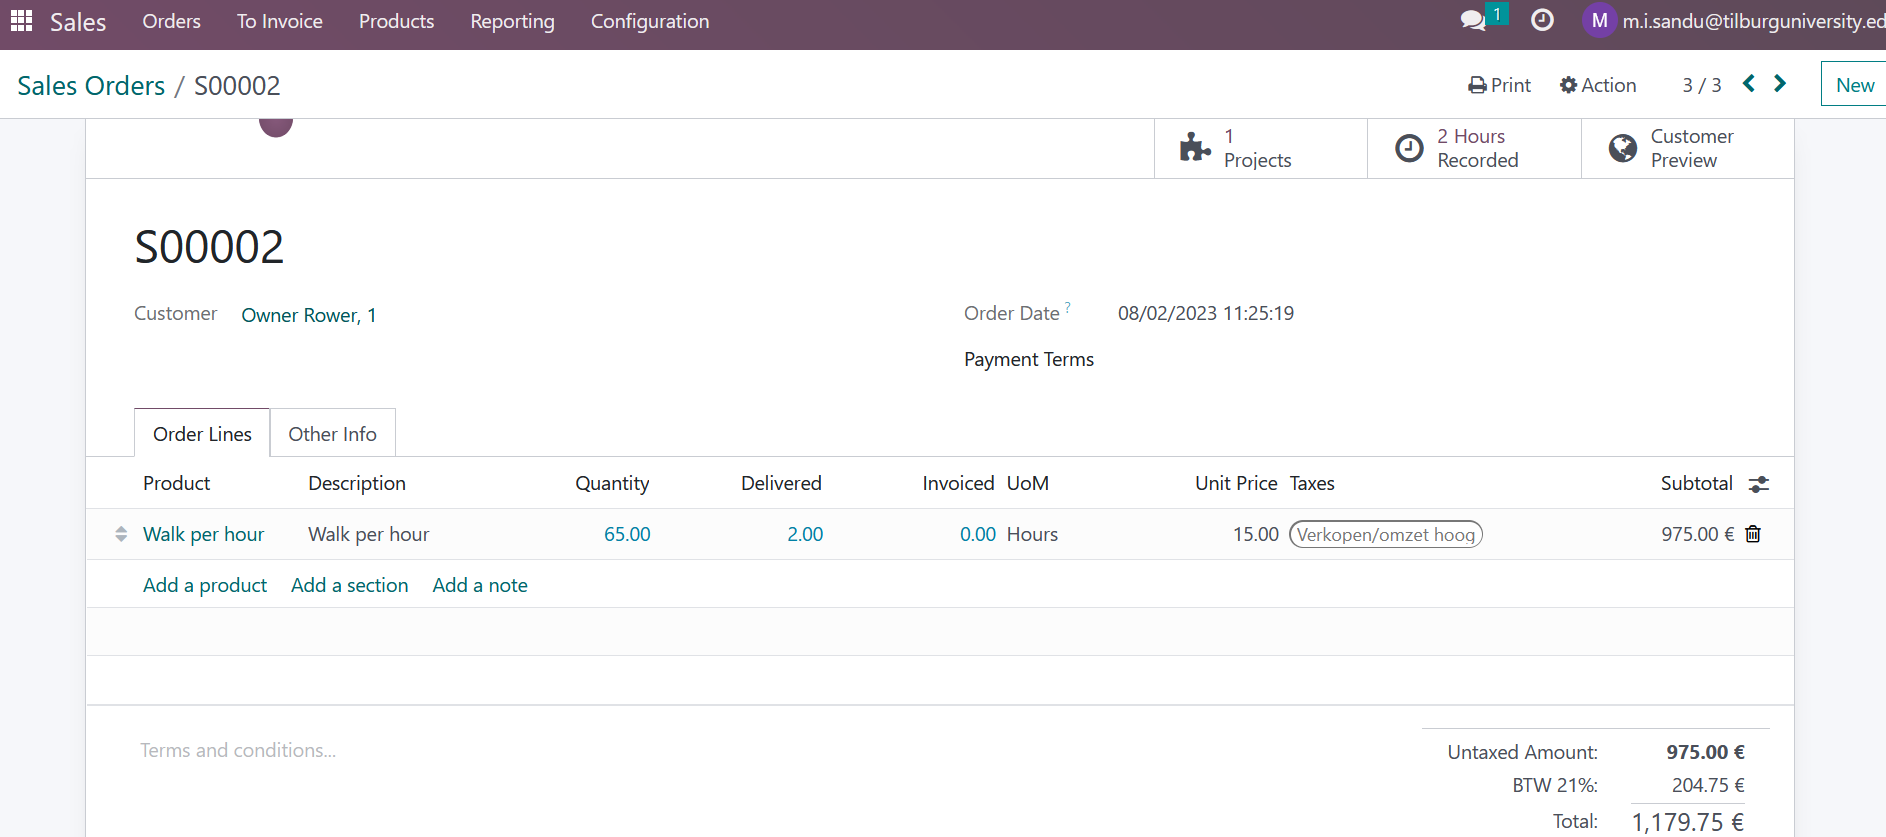
Clicking on the sales order for Rower’s owner, we can see that the Delivered number of hours is now 2, in line with our time sheet (Figure 4.22).
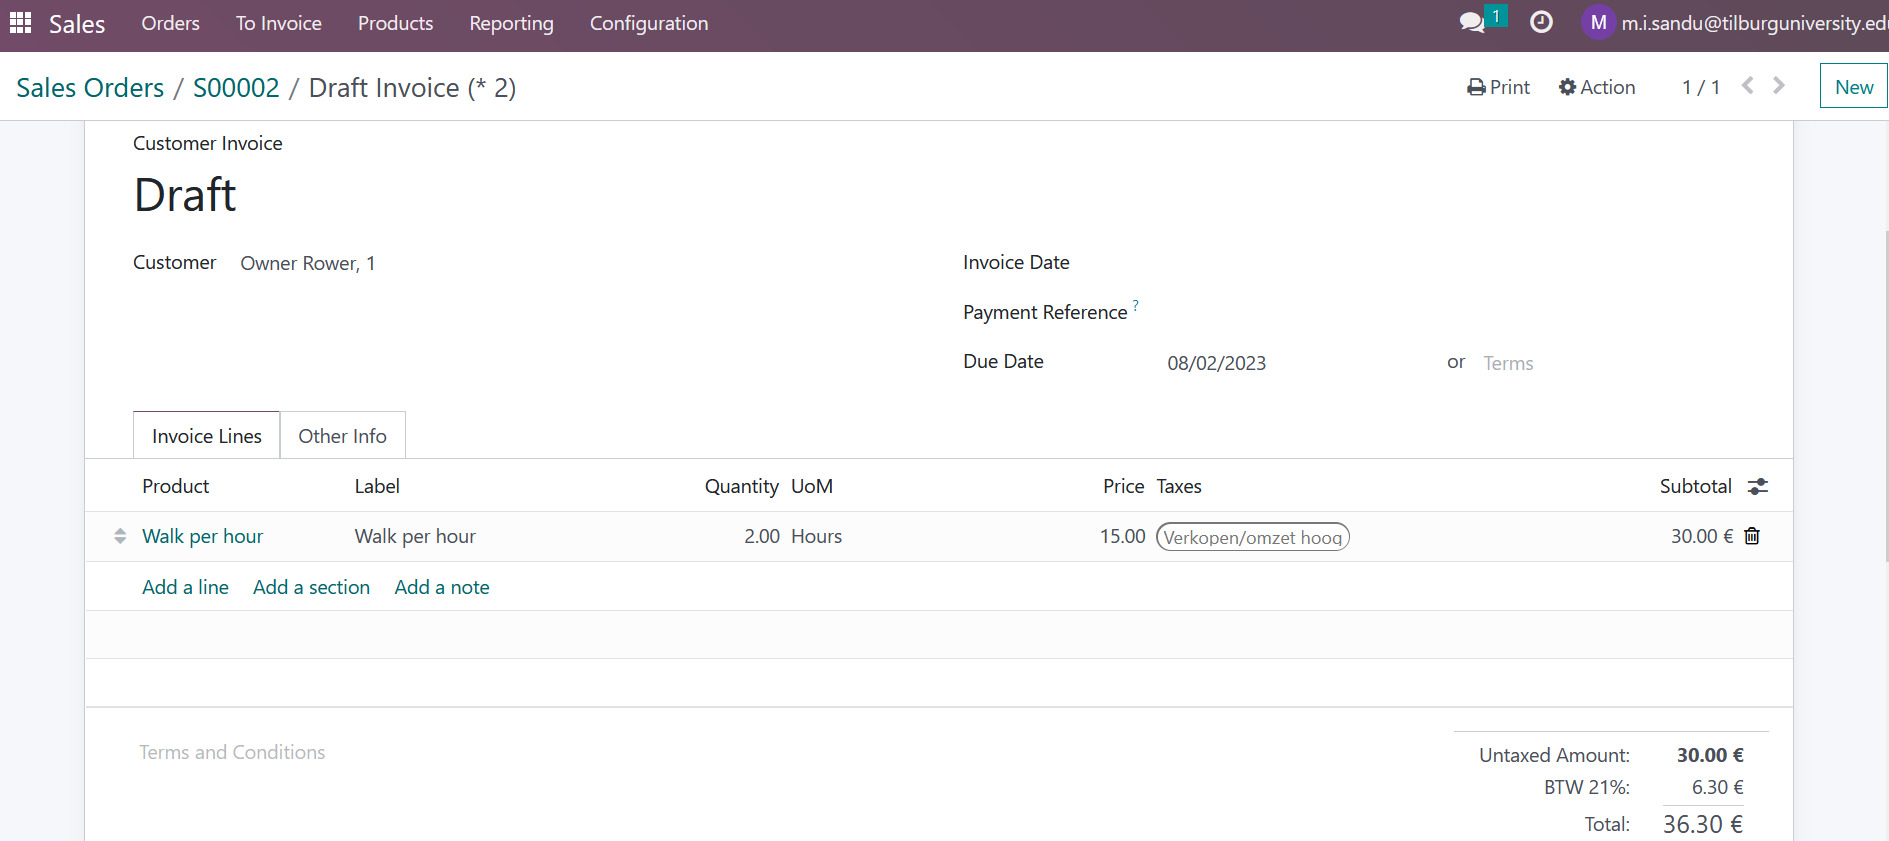
When we actually create the invoice, we see that only the time actually recorded in the time sheet is invoiced (Figure 4.23).
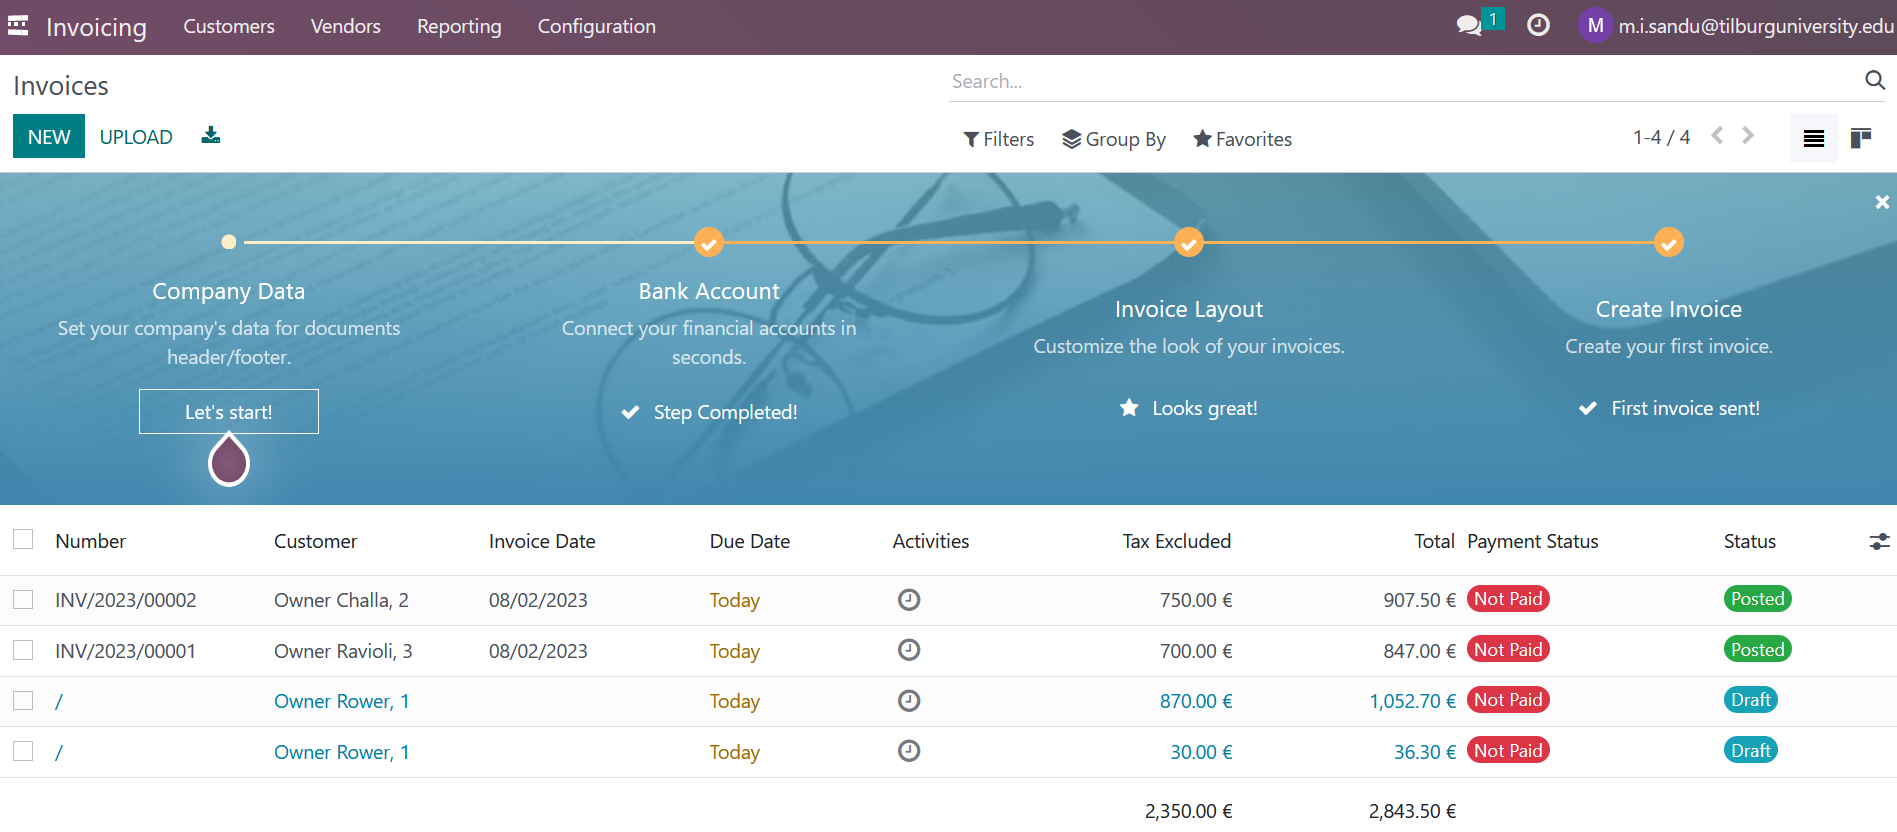
Finally, from the Invoicing app of Odoo we can see the total amount we invoiced (Figure 4.24).
Mission accomplished!